From the Start menu open the Control Panel

Select Network and Internet Connections
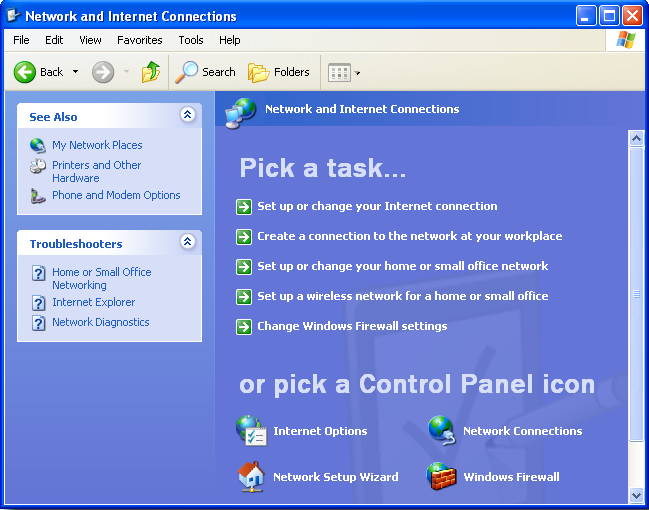
Select Network Connections
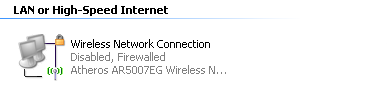
If the interface is disabled, select it then
Right-click on Wireless Network Connection and select Enable
Once the interface is enabled,
Right-click on Wireless Network Connection and select Properties
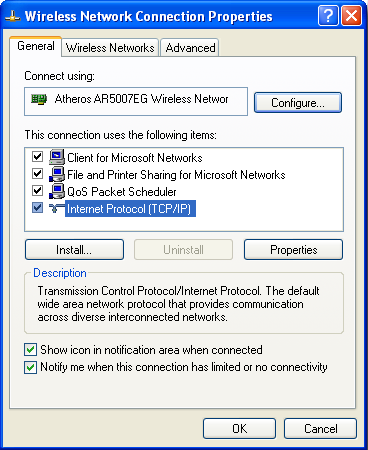
Under the General tab check Internet Protocol (TCP/IP)
Click the Properties button
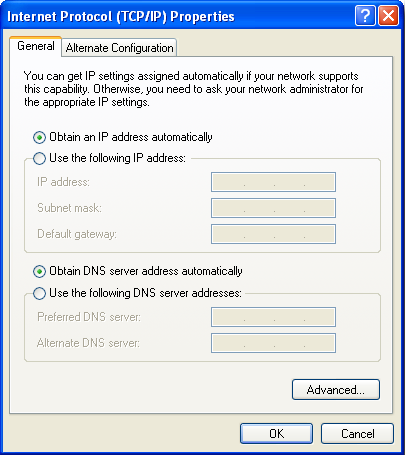
Under the General tab,
Select Obtain an IP address automatically
Select Obtain DNS server address automatically
Click OK to close Internet Protocol (TCP/IP) Properties window
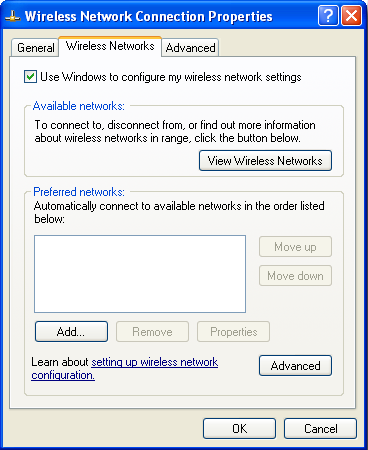
In the Wireless Network Connection Properties window
Select the Wireless Networks tab
If the wifi.csn.khai.edu network is listed under Prefered networks
Select wifi.csn.khai.edu
Click Properties
If wifi.csn.khai.edu is not listed
Click the Add... button
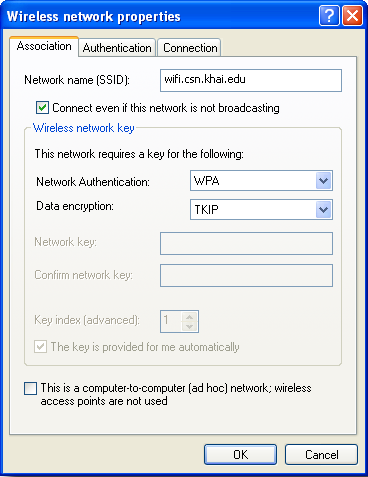
Enter wifi.csn.khai.edu as the Network name (SSID)
Under the Association tab
Set Network Authentication to WPA
Set Data Encryption to TKIP
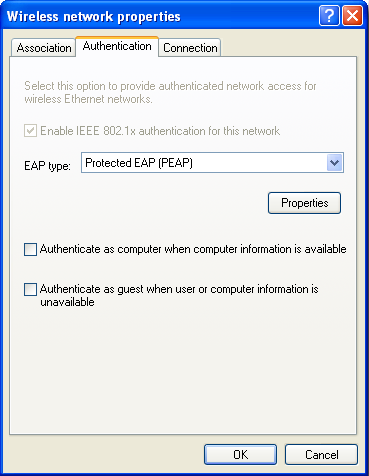
Under the Authentication tab
Set EAP type to Protected EAP (PEAP)
Click Properties
Make sure Validate server certificate is NOT set
Set Select Authentication Method to Secured password (EAP-MSCHAPv2)
Click Configure...
Make sure Automatically use my Windows logon name is NOT set
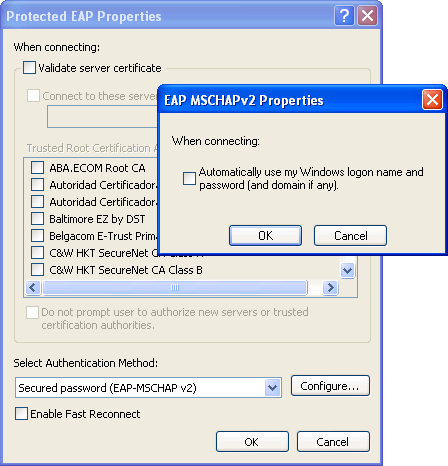
Click OK in EAP MSCHAPv2 Properties
Click OK in Protected EAP Properties
Click OK in the wifi.csn.khai.edu properties window
Click OK in the Wireless Network Connection Properties window
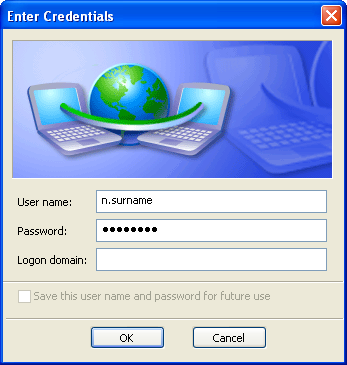
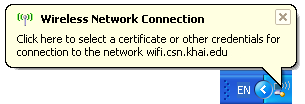
When you try to connect over the wireless interface to the wifi.csn.khai.edu network you will get a notification bubble,
Click on the bubble to open a window where you enter your login information
Use your University login and password.
Logon domain should be left empty.